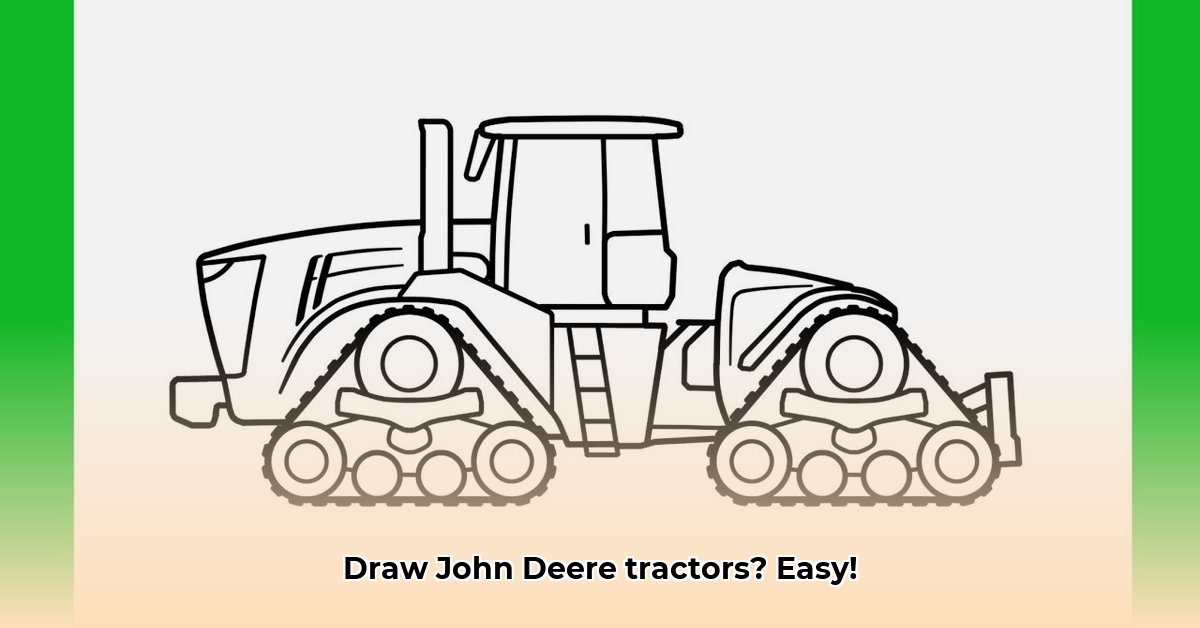
Draw John Deere Tractor: A Step-by-Step Guide to Country Cool
Want to draw a John Deere tractor? This easy guide shows you how, regardless of your skill level! We'll break it down into simple steps, so you can draw a realistic-looking John Deere tractor, even if you think you can't draw. Get ready to have fun and create some awesome tractor art! Did you know that the iconic John Deere green was first adopted in 1876? That's some history to draw inspiration from! For more detailed instructions, check out this helpful guide.
Step 1: The Building Blocks of a Tractor
Let's start with the basics. Grab your pencil and paper. We'll begin by lightly sketching the main body of the tractor. Think of it as a large, somewhat elongated rectangle – this will form the chassis. Now, add a smaller rectangle on top, slightly offset to one side. This is the driver's cab. See? You've already laid the foundation!
Step 2: Rolling into Action: Wheels and More Wheels
Now, for the wheels! Underneath the main body, draw two large circles for the rear wheels. Make them significantly bigger than the two smaller circles you'll add for the front wheels. These size differences are crucial for a realistic look.
Step 3: Bringing it Together: Adding the Details
Let's add some personality! Sketch a gently curved line for the hood (think of it as a gently curving rectangle). Connect it to the cab. Next, draw a smaller, upright rectangle for the exhaust pipe. Finally, add those classic, curved lines to represent the fenders.
Step 4: The John Deere Touch: Making it Iconic
Time for the iconic John Deere logo! Find a spot (perhaps on the hood) and lightly sketch the familiar logo. (You can easily find reference images online). This instantly makes your drawing recognizable.
Step 5: Refine and Define: Bringing Clarity to Your Art
Gently erase initial sketch lines. Boldly outline the final shape of your tractor. These defined lines will make your tractor pop! Use shading to give your drawing depth and dimension. Shade areas that would naturally be darker, like under the body and around the wheels.
Step 6: Colors That Pop: The Final Touch
Now for color! Grab your favorite green and yellow crayons, colored pencils, or paints. Give your John Deere tractor its classic color scheme. Adding black or dark grey for tires and details will add definition. You've drawn your John Deere tractor!
How to Draw a Detailed John Deere Tractor Step by Step
This section will guide you through creating a more detailed tractor. Remember, even experienced artists start with basic shapes! What's your favorite part of a John Deere tractor to draw?
Getting Started: Gathering Your Supplies
You'll need a pencil (HB or 2B are good choices), an eraser, a ruler (optional), and paper. Smooth drawing paper is recommended. Colored pencils or paints can add vibrancy.
Step 1: Sketching the Basic Shapes
Begin by sketching the basic shapes comprising the tractor. Start with a large rectangle for the body, adding smaller rectangles for the cabin, wheels, and engine block. Use light pressure – these are guidelines.
Step 2: Refining the Outline
Refine those shapes, creating a more accurate representation. The curves and angles will start to emerge. Pay attention to the hood's distinct shape, the cabin's rounded edges, and the wheel details.
Step 3: Adding Details
Add smaller details: headlights, grill, exhaust pipe, and the John Deere logo. Reference images for accuracy.
Step 4: Shading and Highlights
Use shading for depth and realism. Apply darker shades to shadowed areas and lighter shading or highlights on parts catching the light.
Step 5: Final Touches and Refinement
Assess your work. Clean up stray lines. Consider adding a background.
Tips for Success
- Reference Images: Use multiple high-quality images for reference.
- Practice: Don't be discouraged! Practice makes perfect.
- Patience: Drawing requires patience and observation.
- Have Fun!